The UPS, the phantom interface and NUT
September 10, 2025
When I reorganized my homelab this year, I decided it was time for a proper UPS: pure sine wave, rack-mount and able to talk to the servers, so they could shut themselves down during an extended power outage. I picked a TS Shara rack-mount sine wave UPS (2U, 1200 VA), bought on Mercado Livre (Latin America’s largest online marketplace) at the end of March. The product page had the clincher right there: “Comunicação inteligente sob demanda USB, RS-232 e SNMP” (smart communication on demand: USB, RS-232 and SNMP).
If you’d rather skip the story, jump straight to the technical part.
The phantom interface
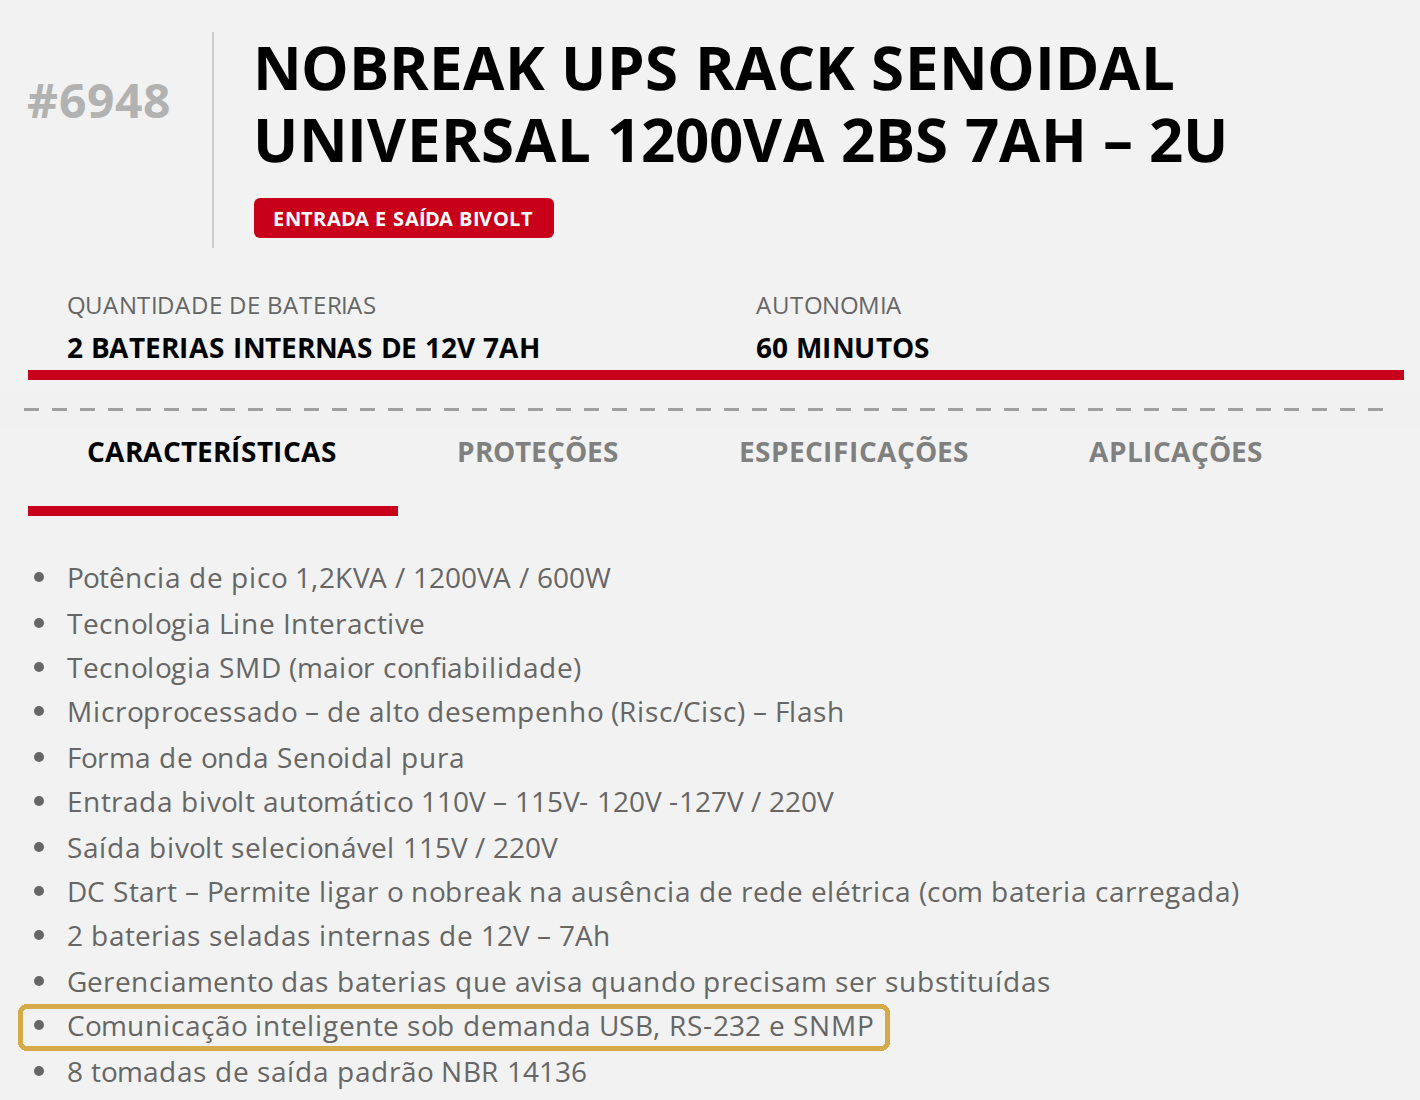
What the page doesn’t explain is what that “sob demanda” (on demand) actually means. All signs point to “factory option, made to order”: the product line manual uses the same expression for the circuit breaker (“Circuit Breaker sob demanda”) and, in the communication section, mentions a “USB ou RS-232 (sob demanda)” connector, with the cable bought separately and the Power NT management software.
I only found out what this actually meant in practice after the unit arrived. Looking up the product line’s launch video, I came across a comment from the manufacturer itself replying to a user with that exact question: “Significa que o nobreak se for comprado em uma revenda, não possui de série essa comunicação.” (“It means that if the UPS is purchased from a retailer, it doesn’t come with this communication feature as standard.”)

In other words: anyone who has already bought one needs to ship the UPS to an authorized service center to get the interface installed; anyone who has yet to buy can order it with the port factory-installed directly through their sales department. In my case, only the first option remained. The day after delivery, customer support instructed me over the phone to take the unit to an authorized service shop in Brasília and guaranteed the USB module would be shipped free of charge. That’s when the soap opera began. The repair shop couldn’t get answers from the factory, and the part never arrived.
In May, they blamed the delay on an issue with Correios (Brazil’s national postal service), promising to resend it via Sedex (express mail) the following day. By July, having clocked nearly 100 days of waiting without being able to use the unit as planned, I filed a complaint on Reclame AQUI (Brazil’s leading consumer complaint platform) and doubled down through the contact form on their website. Only then did things start moving: the manufacturer called with an apology, replied publicly to the complaint, and finally dispatched the module to the repair shop. Installation and handover were quick.
If you plan to buy one of these online, now you know what you’re in for. From the very first contact, it was clear this was hardly a routine procedure: it felt like they were doing me a massive favor.
Unorthodox mounting
The mounting wouldn’t even be worth writing home about if it weren’t for one detail: I don’t have a rack, nor do I plan to get one. I bought this model simply because I loathe the clunky monstrosities marketed to home users: they look just like the old-school voltage stabilizers ubiquitous in Brazilian homes, only bigger, heavier, and uglier.
My initial thought was to mount it underneath the heavy countertop I use as a desk, using a microwave bracket. It went very, very wrong. No wall anchors or screws could keep the UPS from sagging forward, cabling access was awful, and the whole setup was precarious. In one of those moments when you seriously question your life choices, the hefty beast toppled over and went crashing straight to the floor. Miraculously, it survived. Today it rests squarely on top of the workbench, which hasn’t bowed enough to make me worry just yet (though I’m keeping a close eye on it).
On the other end of the cable
With the module installed, the UPS’s USB port shows up in Linux as an STMicroelectronics virtual serial port (0483:5740, “Virtual COM Port”) that speaks the Megatec/Q1 protocol. In NUT (Network UPS Tools), that means using the blazer_ser driver (nutdrv_qx with protocol = megatec is the alternative). My starting point was the ups-nut-tsshara repository, which documents a sibling model from the same line.
Two practical lessons:
- Give the port a fixed name. The device may show up as
/dev/ttyACM0today and/dev/ttyACM1tomorrow. A udev rule based on vendor, product and serial number creates a stable link (/dev/ttyTSSHARA0). - Don’t trust the charge percentage or the estimated runtime. On this model,
battery.chargeandbattery.runtimearen’t reliable through NUT. The shutdown policy should rely on status events (ONBATT,ONLINE,LOWBATT): when the power goes out, a timer starts; if power doesn’t come back before it runs out, the server triggers a forced shutdown (FSD) of all machines.
The architecture
The UPS is connected via USB to a Raspberry Pi 4, which runs the NUT server (upsd, port 3493) and is the only machine that talks to the unit directly. The other machines (another Raspberry Pi and the two Unraid servers) are network clients: they track the UPS status and shut down when the server tells them to. On the same Pi, PeaNUT provides a web dashboard, and upslog records voltage, frequency, load and status every minute.
The policy is simple: 120 seconds on battery (enough to ignore brief fluctuations) and the Pi triggers the FSD. If the UPS signals low battery before that, shutdown is immediate. Below are three ways to set this up: with Ansible, by hand or on Unraid.
1. With Ansible
This whole configuration lives in the nut-tools role of the public version of my infrastructure repository, ansible-homelab. The role decides what to install based on the inventory:
[nut_server]
pi4

[nut_clients]
pizero
On the server, it installs nut-server, nut-client and nut-monitor, applies the udev rule, generates every file in /etc/nut from templates, creates the logging service (nut-logger), installs the upssched script and brings up PeaNUT in Docker. On the clients, it installs only nut-client and points upsmon to the server. The main variables live in the role defaults:
nut_ups_name: tsshara
nut_ups_driver: blazer_ser
nut_onbatt_shutdown_delay: '120'
nut_udev_id_vendor: '0483'
nut_udev_id_product: '5740'
nut_udev_serial: '00000000001A'   # check the one on your unit
nut_udev_symlink: ttyTSSHARA0
nut_upsd_port: 3493
nut_upsmon_password: "{{ vault_nut_upsmon_password }}"
nut_upsmon_secondary_password: "{{ vault_nut_upsmon_secondary_password }}"
The passwords are kept in Ansible Vault. To apply just this part:
ansible-playbook run_homelab.yml -l pi_servers --tags nut
2. By hand (Debian or Raspberry Pi OS)
Without Ansible, you get the same result by writing a few files yourself. On the computer that will be connected to the UPS:
sudo apt install nut
lsusb | grep 0483:5740
udevadm info -a -n /dev/ttyACM0 | grep -m1 'ATTRS{serial}'
Create /etc/udev/rules.d/99-ups-tsshara.rules (all on a single line) with the serial number you found:
SUBSYSTEM=="tty", ATTRS{idVendor}=="0483", ATTRS{idProduct}=="5740", ATTRS{serial}=="SEU_SERIAL", GROUP="nut", MODE="0660", SYMLINK+="ttyTSSHARA0"
Then run sudo udevadm control --reload-rules && sudo udevadm trigger and configure NUT:
# /etc/nut/nut.conf
MODE=netserver

# /etc/nut/ups.conf
maxretry = 3
[tsshara]
  driver = blazer_ser
  port = /dev/ttyTSSHARA0
  pollinterval = 15
  desc = "TS Shara"

# /etc/nut/upsd.conf
LISTEN 0.0.0.0 3493
MAXAGE 25

# /etc/nut/upsd.users
[upsmon]
  password = "SENHA_PRIMARIA"
  upsmon primary
[upsmonsecondary]
  password = "SENHA_SECUNDARIA"
  upsmon secondary
In /etc/nut/upsmon.conf, the essentials are:
MONITOR tsshara@localhost 1 upsmon "SENHA_PRIMARIA" primary
SHUTDOWNCMD "/sbin/shutdown -h +0"
NOTIFYCMD /usr/sbin/upssched
NOTIFYFLAG ONBATT SYSLOG+WALL+EXEC
NOTIFYFLAG ONLINE SYSLOG+WALL+EXEC
NOTIFYFLAG LOWBATT SYSLOG+WALL+EXEC
DEADTIME 15
HOSTSYNC 15
POWERDOWNFLAG /etc/killpower
And the timer goes in /etc/nut/upssched.conf:
CMDSCRIPT /usr/sbin/upssched-cmd
PIPEFN /run/nut/upssched.pipe
LOCKFN /run/nut/upssched.lock
AT ONBATT * START-TIMER onbatt_shutdown 120
AT ONLINE * CANCEL-TIMER onbatt_shutdown online
AT LOWBATT * EXECUTE lowbatt_shutdown
The /usr/sbin/upssched-cmd script (owner root:nut, permissions 0750) only needs to call /usr/sbin/upsmon -c fsd for onbatt_shutdown and lowbatt_shutdown and log everything else with logger. Restart with sudo systemctl restart nut-server nut-monitor and check with upsc tsshara@localhost.
On the clients, all you need is sudo apt install nut-client, MODE=netclient in nut.conf and, in upsmon.conf, a line pointing to the server’s IP (not to the client itself, or it will never receive the FSD):
MONITOR tsshara@IP_DO_SERVIDOR 1 upsmonsecondary SENHA_SECUNDARIA secondary
SHUTDOWNCMD "/sbin/shutdown -h now"
Two fine-tuning tweaks worth making:
- Battery voltage.
blazer_serestimates the charge from the voltage, and the default values (default.battery.voltage.high/low/nominal) depend on how your unit reports the battery: the role uses 12 V values; the reference repository, 24 V. Check what shows up underbattery.voltageinupscand adjust. Even so, treat the percentage as a rough guide. - Cutting power at the end. With
POWERDOWNFLAG, once the server finishes shutting down, it asks the UPS to cut its output and turn back on when power returns. If a client takes a while to shut down (as Unraid does), increaseoffdelayinups.confso the cut doesn’t catch it halfway through.
3. On Unraid
Unraid’s native UPS support (under Settings › UPS Settings) is based on apcupsd, built for APC units, and won’t work here. Leave it disabled and install the Network UPS Tools (NUT) for UNRAID plugin from Community Applications. Since the UPS’s USB connection is on the Raspberry Pi, Unraid joins as a network client:
- in the plugin, enable NUT in network client mode (netclient), pointing to the Pi’s IP, port 3493, name
tssharaand the secondary user; - don’t rely on the plugin’s triggers based on battery percentage or runtime, which read the same unreliable numbers. The server makes the call, and the FSD reaches Unraid over the network. If you want a local safety net, use the time-on-battery trigger, with a value slightly higher than the server’s;
- check the shutdown timeout under Settings › Disk Settings: stopping the array, VMs and containers takes time, and all of it has to fit within the UPS’s runtime (and within
offdelay, if you use the power cut); - test from the Unraid terminal with
upsc tsshara@IP_DO_PIand, on a quiet day, unplug the UPS to watch the whole chain work.
Conclusion
With the interface installed, the technical part went smoothly, but I had to spend a good while testing and configuring everything. I’m leaving it all here for anyone who needs it.